slime recipe
slime recipe Slime has become a hit with kids, thanks to its fun texture and endless customization options. It’s a great way to keep kids entertained without spending a lot. Plus, it’s a great way to encourage sensory play.
This guide will show you how to make slime at home. You’ll get a simple recipe and tips to make the perfect slime. It’s all about having fun and being creative.

Key Takeaways
- Homemade slime is a fun, affordable, and customizable activity for kids
- Making slime at home provides valuable sensory and developmental benefits
- This guide will teach you how to create the perfect DIY slime with simple ingredients
- Discover creative variations and troubleshooting tips for the best slime results
- Learn safety guidelines and clean-up tips to ensure a stress-free slime-making experience
Why Making Slime Is the Perfect Indoor Activity
Homemade slime is a hit for indoor fun with kids. It’s not just fun; it’s also great for their development. Slime helps with fine motor skills and offers a calming sensory experience.
Benefits of Sensory Play for Child Development
Sensory play, like making slime, boosts a child’s growth in many ways. It improves fine motor skills, hand-eye coordination, and problem-solving. Plus, it can help reduce stress and improve focus.
Safety and Supervision Guidelines
Slime activities are mostly safe, but safety rules are key. Adults should watch closely and make sure all ingredients are safe for kids. It’s also important to teach kids where and how to play with slime to avoid messes.
Slime is a great indoor activity for kids. It’s educational and fun, offering many benefits and chances for creativity. It’s perfect for rainy or cold days when kids need something to do indoors.
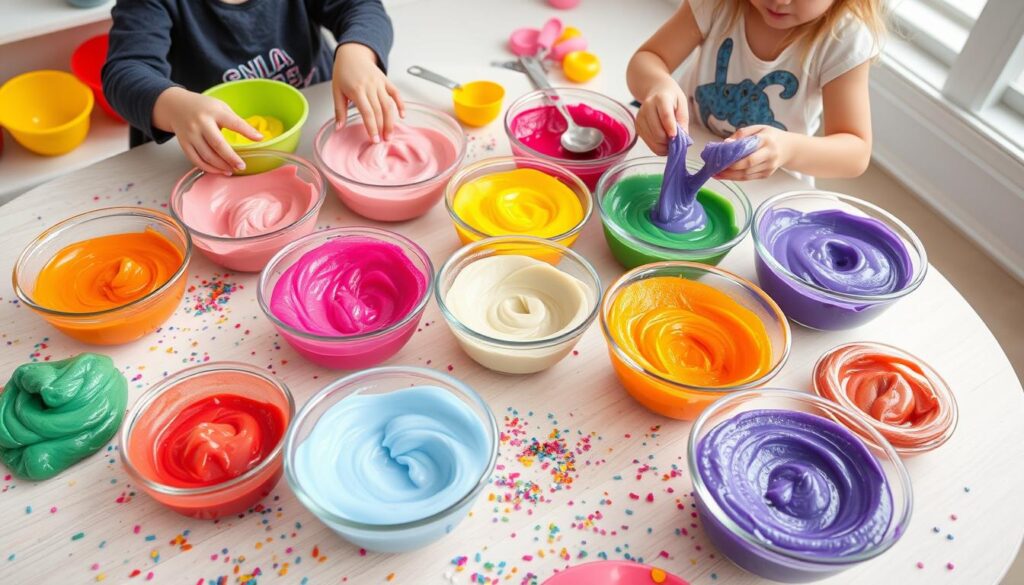
Essential Ingredients for Basic Slime Recipe
Making mesmerizing slime is easy and doesn’t need a lot of special stuff. You can find the basic slime ingredients at home. Whether you’re a slime pro or just starting, knowing the basics is crucial.
The main parts for a simple yet fun easy slime recipe are:
- Glue – This is the base that makes slime stretchy and gooey. Use clear or white school glue for the best results.
- Borax or Contact Lens Solution – These activators turn glue into slime. Borax and contact lens solution both work well to bind ingredients.
- Food Coloring – Add color to your slime with a few drops of food coloring. This lets you choose the slime’s color.
You can also try adding other ingredients for different slime textures and effects. For example, shaving cream makes slime fluffy and cloud-like. Adding glitter gives it a sparkly look.
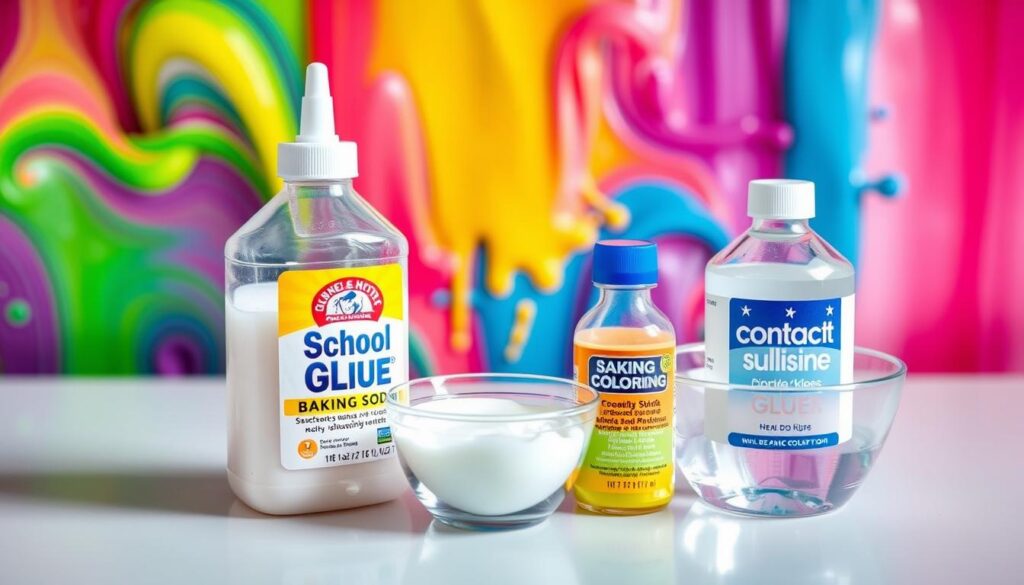
The secret is to find the right mix of these basic slime ingredients for your perfect easy slime recipe. With a bit of trying, you’ll make slime that looks great and is fun to play with.
Step-by-Step Slime Making Instructions
Making homemade slime is simple! You just need a few ingredients and some careful mixing. Follow these steps to make the best slime recipe at home. This slime tutorial will help you get the perfect slime.
Mixing the Base Solution
First, get your base ingredients. You’ll need clear glue like Elmer’s and a liquid like water or contact lens solution. In a clean bowl, mix the glue and liquid together. Use the ratios from the best slime recipe.
Stir until the mixture is smooth and even.
Adding Activator and Colors
- Now, add the activator. This turns the mixture into slime. You can use borax, baking soda, or saline solution.
- Slowly add the activator to the base. Mix and knead as you go. Add a little at a time until it’s right.
- If you want color, add it now. Use a few drops of food coloring or liquid watercolor paints.
Kneading and Achieving Perfect Consistency
The last step is kneading the slime. This makes it smooth and pliable. Knead for several minutes to get rid of lumps and air bubbles.
Adjust the consistency by adding more activator or base ingredients if needed.
Follow these steps to make the best slime tutorial and best slime recipe. You’ll have fun making slime for hours!
Troubleshooting Common Slime Problems
Making homemade slime recipe is fun for kids. But, sometimes it doesn’t go as planned. If you face issues while making slime at home, we’ve got tips to help.
Sticky Slime Solution
Sticky slime usually means too much activator. To fix it, add a bit of contact lens solution or borax solution. Knead it in until it gets better. You can also add more glue or liquid starch to balance it out.
Runny Slime Consistency
Runny slime needs more activator. Start with a teaspoon at a time. Knead after each addition until it’s thick and stretchy.
Slime That Won’t Set
Slime that stays liquid might need more activator. Add more contact lens solution or borax. Keep kneading until it’s not sticky anymore.
Hardened Slime
Hard slime means too much activator. To soften it, knead in a bit of glue or liquid starch. This should make it right again.
Finding the right mix is key for a great slime recipe. With a bit of practice, you’ll get it right. Soon, you’ll be a pro at making slime at home.
Creative Variations to Make Your Slime Unique
Let your creativity shine and turn basic slime into a unique masterpiece! Whether you love slime or are new to DIY, there are many ways to make your slime stand out.
Glitter and Metallic Effects
Give your slime a glamorous look with glitter or metallic paints. These sparkly additions make your slime mesmerizing and eye-catching. Just add some glitter or metallic paint to your slime recipe for a dazzling sparkle.
Scented and Textured Options
Make your slime more exciting with different scents and textures. Add essential oils or extracts for a lovely smell, or mix in beads or sequins for a fun feel. Fluffy and stretchy slime are especially fun, offering unique sensations.
| Slime Variation | Ingredients | Desired Effect |
|---|---|---|
| Glitter Slime | Slime base, glitter | Shimmering, sparkly appearance |
| Metallic Slime | Slime base, metallic paint | Lustrous, iridescent finish |
| Scented Slime | Slime base, essential oils | Aromatic, pleasant fragrance |
| Textured Slime | Slime base, small beads or sequins | Engaging, multi-sensory experience |
Unleash your creativity and explore the endless possibilities of slime-making. By adding glitter, metallic effects, scents, and unique textures, you can make your slime truly special. Have fun and let your imagination soar!
Storage Tips and Slime Maintenance
Keeping your homemade slime recipe fresh and fun is easy. Just follow these simple tips to make your homemade slime last longer:
- Put your slime in an airtight container or a resealable bag. This keeps it from drying out and losing its gooey feel.
- Keep the slime at room temperature when you’re not playing with it. Avoid direct sunlight or heat, as it can make the slime hard or too sticky.
- If your slime gets too stiff, knead in a bit of contact lens solution or baking soda. Start with a small amount and add more until it’s just right.
Even with good care, your homemade slime will eventually wear out. If it gets dry, crumbly, or too sticky, it’s time for a new batch of your favorite slime recipe.
| Storage Tip | Benefit |
|---|---|
| Airtight container | Prevents drying and maintains texture |
| Room temperature storage | Avoids hardening or stickiness from extreme temps |
| Reviving with contact lens solution or baking soda | Restores ideal consistency |
By using these easy storage and care tips, you can enjoy your homemade slime for hours. It’s perfect for sensory play and creative fun.
Fun Activities and Games with Your Homemade Slime
Let your child’s creativity shine by using homemade slime in fun activities. You can try learning experiments or party games. Slime is a great way to explore and learn.
Educational Play Ideas
Slime is great for learning about science and sensory play. Encourage your kids to try different slime recipes. They can see how the texture changes.
They can also learn about density and viscosity. Slime is a fun way to understand matter.
- Do a “sink or float” experiment with slime. See which objects sink and which float.
- Find out how slime changes with temperature. Watch how it reacts to warm and cold.
- Let your kids mix slime colors. See what new colors they can make.
Party Activity Suggestions
Make any party fun with a slime-making station. Kids will enjoy making their own slime. You can also add slime to party games for more fun.
- Have a DIY slime bar. Let guests make their own slime in different colors and textures.
- Play “slime toss.” See how far guests can throw their slime without it breaking.
- Try a slime scavenger hunt. Hide small objects in the slime for kids to find.
Using homemade slime activities for kids can make any event memorable. It sparks creativity and learning. Plus, it adds easy slime recipe fun to any party.
Safety Precautions and Clean-up Tips
When making and playing with slime, safety is key. A few simple steps can make your experience fun and safe. Let’s look at important safety tips and clean-up methods to keep your slime tutorial activities safe and neat.
Protect Surfaces and Clothing
Slime can be messy. So, protect your surfaces and clothes. Use a plastic tablecloth or wax paper on tables or countertops. Wear old clothes or an apron to keep your outfit clean.
Safe Ingredient Selection
- Choose non-toxic, child-friendly ingredients for making slime at home.
- Stay away from strong-smelling or harsh chemicals that can irritate skin or eyes.
- Always watch children during slime-making and make sure they don’t eat any materials.
Effective Cleaning Methods
Cleaning up slime can be a challenge. But, with the right methods, it’s easy to remove it from surfaces. For clothes, gently blot the slime with a damp cloth and mild soap. Don’t rub, as it can spread the slime.
For surfaces like tables or floors, use a paper towel or rag to wipe up excess slime. Then, use a cleaner that dissolves slime’s adhesive properties.
| Surface | Cleaning Recommendation |
|---|---|
| Clothing | Blot with damp cloth and mild soap |
| Countertops | Wipe with paper towel or rag, then use slime-dissolving cleaner |
| Floors | Wipe with paper towel or rag, then use slime-dissolving cleaner |
By following these safety tips and clean-up methods, you can have a fun and mess-free slime tutorial experience. A little preparation makes your slime making activities a hit!
Conclusion
Creating slime at home is fun and educational for kids of all ages. It boosts their sensory awareness and creativity. Whether you try the best slime recipe or different activities, it’s sure to excite your kids.
Homemade slime is all about trying new things. You can mix different ingredients, colors, and textures. This way, you can make slime that your child will love.
Slime-making is a great way to have fun and learn together. Explore the best slime recipes and activities. Let your kids’ imaginations run wild as they explore new sensations. Enjoy the journey and make lasting memories.
FAQ
What are the essential ingredients for making basic slime?
To make basic slime, you need glue, borax or contact lens solution, and water. You can also add food coloring or other mix-ins to make it your own.
How do I achieve the perfect slime consistency?
For the perfect slime, follow the recipe and knead it well. You might need to add more activator or water to get it just right.
What are some common issues with homemade slime and how can I fix them?
Homemade slime can be too sticky, runny, or hard. To fix it, adjust the activator or water, or add more glue if it’s too runny.
Can I make my slime more unique with special ingredients?
Yes! Add glitter, metallic paint, scents, or small objects to make your slime special. It can have different textures and smells.
How should I store my homemade slime?
Store your slime in an airtight container or plastic bag. This keeps it fresh and prevents drying. Keep it at room temperature, away from sunlight.
What safety precautions should I take when making and playing with slime?
Always watch kids when they play with slime. Make sure they don’t eat it. Protect surfaces and clothes from stains. Clean up spills quickly.


